Leveling the Upper Firewall
 When
I was leveling the center section spar to the wings and subsequently to the
fuselage, I had bondoed two small leveling boards on top of it (Chapter 19 -
Section 12). I decided to use
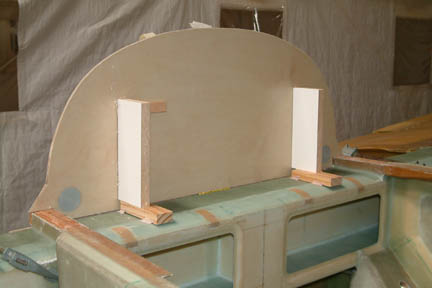
these leveling boards again for positioning the upper firewall. I hot-glued two
squared boards on top of the leveling boards with its aft edges at the same plane
as forward surface of the bottom firewall. Then I hot-glued the upper firewall in place. Actually I
did this before installing the TB in the previous section - to ensure
the TB fits well with the upper firewall.
When
I was leveling the center section spar to the wings and subsequently to the
fuselage, I had bondoed two small leveling boards on top of it (Chapter 19 -
Section 12). I decided to use
these leveling boards again for positioning the upper firewall. I hot-glued two
squared boards on top of the leveling boards with its aft edges at the same plane
as forward surface of the bottom firewall. Then I hot-glued the upper firewall in place. Actually I
did this before installing the TB in the previous section - to ensure
the TB fits well with the upper firewall.
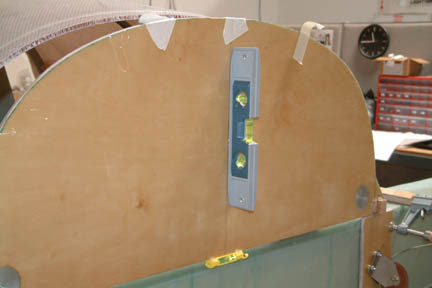 I
measured the back side of the upper firewall with my digital level to make sure
it is perfectly vertical. In addition, I hot-glued 2 small bubble levels so
that I can verify its angle position throughout this Chapter. Note the miniature
yellow bubble at the bottom edge...
I
measured the back side of the upper firewall with my digital level to make sure
it is perfectly vertical. In addition, I hot-glued 2 small bubble levels so
that I can verify its angle position throughout this Chapter. Note the miniature
yellow bubble at the bottom edge...