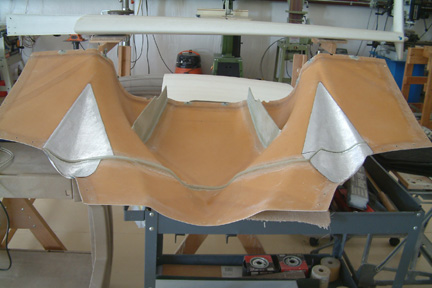
I followed James Redman's approach on my wing root heat shields. I purchased the heat shield materials (Thermo-Tec Aluminized Heat Barrier) from a local auto store. It came in a roll and can be trim with razor blade or cut with scissors. I first removed most of the control rods and stuff in the wing root. Then I cut out a piece of thin paper and press it into the wing root cavity. With a pencil, I traced out the top, bottom, side and front surfaces in the wing root cavity. After cutting them out individually, I transfer the template onto the heat shield material. The heat shield material is thin and light weight and supposedly, it can withstand 2000 degrees radiated heat which is more than adequate. I also has peel off adhesive back which make it easy to install. After several rounds of trimming and trial fitting with each heat shield templates, I peeled off its backing material and stuck them in place.
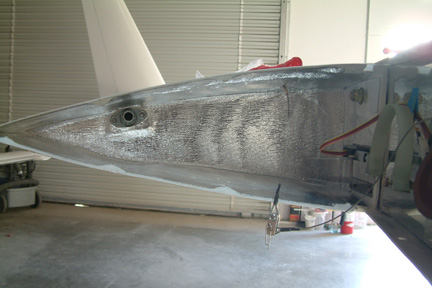
Picture 1 - heat shield material applied to left wing root;
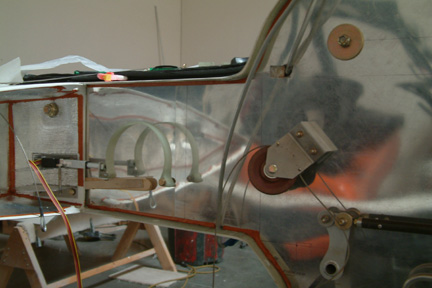
Picture 2 - heat shield material applied to right wing root;
|
|
|
|
|
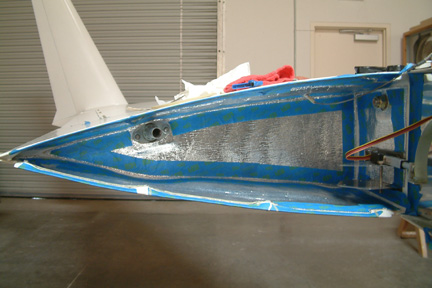
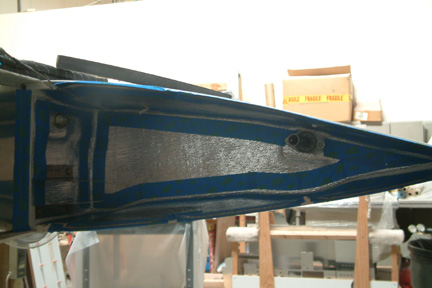
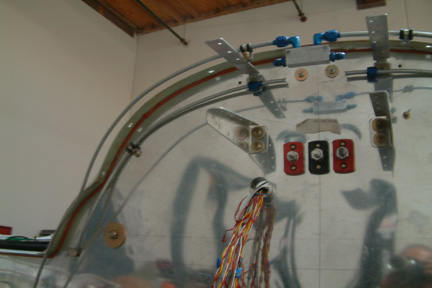
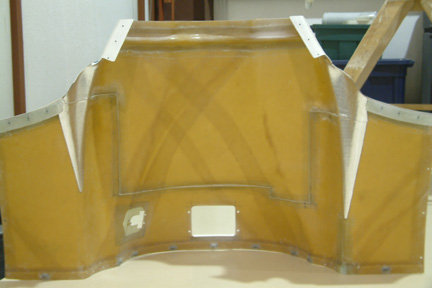
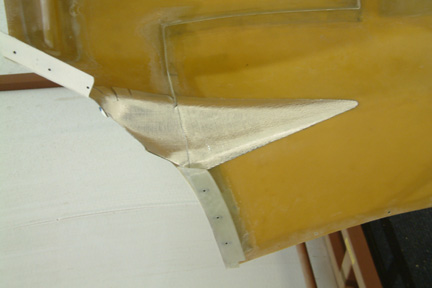
The next step was to add high temp RTV to seal the edges of the heat shield materials. There are many types of RTV sealant in the market. I decided on the Permatex Ultra Copper High Temp RTV Silicon. It is a silicon gasket maker which can resist temperature up to 700oF. I applied the RTV on a sample and it smeared all over the place - no way I can make a nice clean "bead" of sealant along the edges of the heat shield. I knew then, I must mask out the seam lines if I want to have any chance of a decent looking sealant bead. Picture 3 & 4 shows the masked out seam lines.
 |
 |
 |
 |
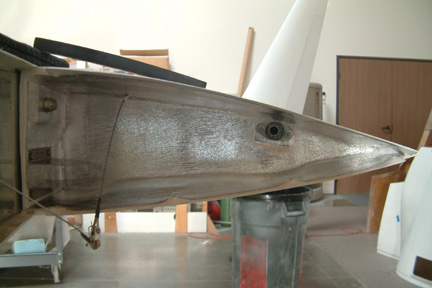
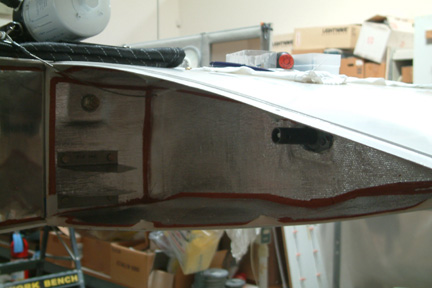
Picture 1 - Left wing root, sealant applied and masking tape removed;
Picture 2 - Right wing root, Sealant applied and masking tape removed;
Picture 3 - I followed the same procedure (applied masking) and applied sealant around the perimeter of the firewall heat shield as well;
Picture 4 - Another picture of the firewall sealant.
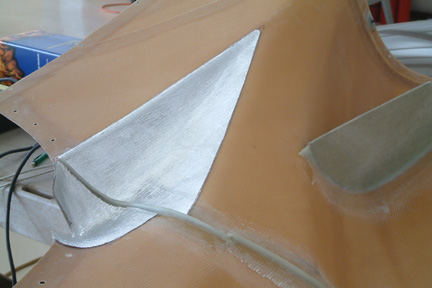
Since the upper and lower cowlings are very close to my exhaust pipes, it would be wise to provide some protection to them. I used the same Thermo-Tec Aluminized Heat Barrier as used at the wing roots. I mounted the cowlings back in place and marked the positions that are close to the exhaust pipes. First, I used thin paper in place to establish the shape and size of the area that needs protection. Then I traced them out onto the heat shield materials. I cleaned off the cowling areas with soap and water, then dried them thoroughly. Remove the adhesive backing paper and squeegee them in position. Here's a few pictures of my cowlings after heat shields are applied.
 |
 |
 |
 |
Picture 1 - Lower cowling, under left exhaust;
Picture 2 - Lower cowling, showing both heat shields;
Picture 3 - Upper cowling, both;
Picture 4 - Closer look at one of the upper cowl exhaust heat shields.
To make the sealant line width more consistent, I tried to keep the mask lines the same width (~1/4") the best I can. In addition, I used a stir stick for smoothing out the sealant. I pre-trimmed my stir sticks to 3/8" wide and round off its tip prior. It provides a reasonable fillet - not the best though.
The next important consideration is that the high temp sealant (RTV) cures very quickly - that was a big surprise. Therefore, only apply a short bead line (~12"), then smooth it out and immediately remove the masking tape. Once the RTV 'skins up', you'll have a hard time smoothing it out.
Thing to do:
I have yet to seal off the edges along the heat shields with RTV