Thigh Support
 I
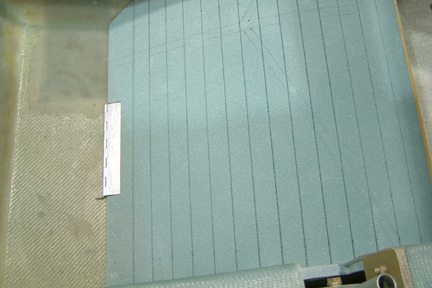
started with a paper template because its much easier to trim and fit. Using the
template, I traced the seat outline onto a 3/8" thick foam. I had 2 layers of
glass on one side already (excess from previous parts) for the thigh support. I sliced
up the foam side (1" apart) per
plan.
I
started with a paper template because its much easier to trim and fit. Using the
template, I traced the seat outline onto a 3/8" thick foam. I had 2 layers of
glass on one side already (excess from previous parts) for the thigh support. I sliced
up the foam side (1" apart) per
plan.
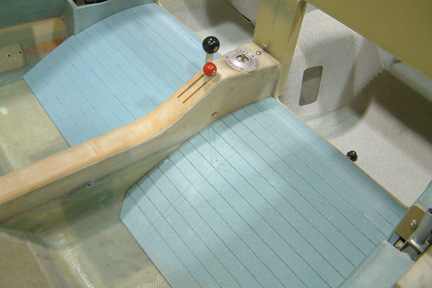
With the ribs hot-glued squarely on my work bench, I hot-glued the thigh support onto the top of the ribs.
Here's a picture when trial fitting the thigh support in place. Due to the unique curvatures along its edges, I had to do quite a bit of fitting (especially for the front seat edge) for it to sit flush and snug. Just good old trial and error...
 Just
about every Cozy builder added a hinge at the back of the thigh support such that
they can flip it open for easy access. I carved an indentation on the thigh
support foam so that I could embed a 5" long hinge.
Just
about every Cozy builder added a hinge at the back of the thigh support such that
they can flip it open for easy access. I carved an indentation on the thigh
support foam so that I could embed a 5" long hinge.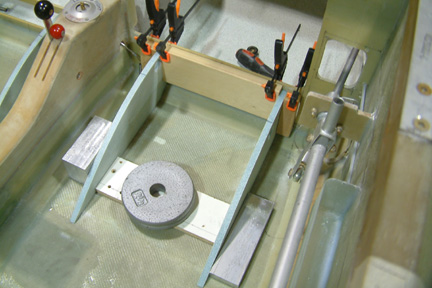 I
clamped the ribs in place with wood blocks such that they are seated squarely
with the Instrument Panel. First, I held them in place (at a few locations) with 5-min. epoxy. Once the 5 min.
epoxy cured, I removed the clamps and blocks. Then I
glassed the ribs in place with BID and peel-plied.
I
clamped the ribs in place with wood blocks such that they are seated squarely
with the Instrument Panel. First, I held them in place (at a few locations) with 5-min. epoxy. Once the 5 min.
epoxy cured, I removed the clamps and blocks. Then I
glassed the ribs in place with BID and peel-plied. 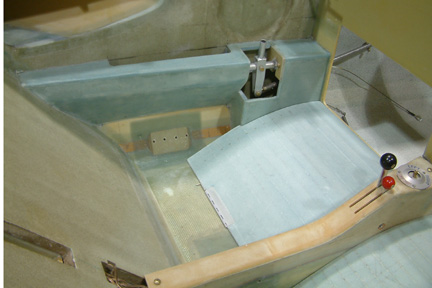 I
glassed the thigh support on the work bench because it is more accessible. In
addition, I can trim the edges for a tight fit along sides of the armrest and center
console. Here's
a picture of the thigh support glassed (2 layers BID & peel-plied) and fit in
place.
I
glassed the thigh support on the work bench because it is more accessible. In
addition, I can trim the edges for a tight fit along sides of the armrest and center
console. Here's
a picture of the thigh support glassed (2 layers BID & peel-plied) and fit in
place.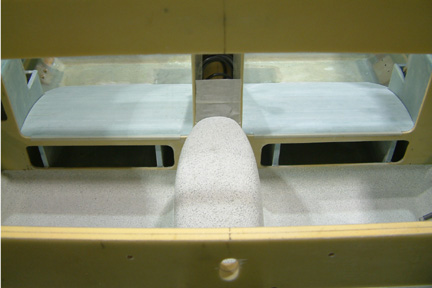 I
added a lip that bridges the forward edge of the thigh support over the
instrument panel. I don't think it makes much functional difference, it just
looks more complete.
I
added a lip that bridges the forward edge of the thigh support over the
instrument panel. I don't think it makes much functional difference, it just
looks more complete.