Shaping the Foam for the Rear Armrest
 Making
a paper template to help fit the top armrest foam against the fuselage sides
seems to be the easiest way to go. The vertical side piece is pretty straight
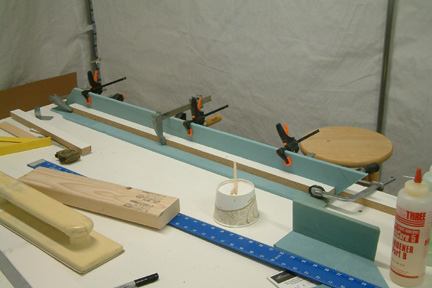
forward - just have to get the angle at the ends correctly. The picture to the left
shows how I 5-min. epoxied the top and the side wall together - making sure they are at
right angles!
Making
a paper template to help fit the top armrest foam against the fuselage sides
seems to be the easiest way to go. The vertical side piece is pretty straight
forward - just have to get the angle at the ends correctly. The picture to the left
shows how I 5-min. epoxied the top and the side wall together - making sure they are at
right angles!
The bottom side piece has always been difficult to fit. I decided to 'hang/drape' a real thin tracing paper along the bottom edge of the side wall. With the paper held against the fuselage, I traced out the shape of the bottom side piece. Then I removed the tracing paper and used it as a template for cutting the 3/8" foam. The next step was to shape the foam edges against the fuselage for a snug fit.
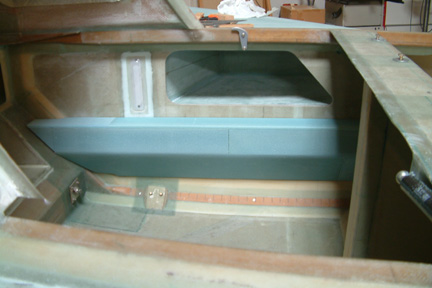 Here's
a picture of the completed left arm rest (not glassed yet). I repeated the same
for the right arm rest. It has been rather cold in southern California for the
past few days (~40oF), so I decided to wait a bit before any glass work.
I decided to proceed to the next section for now.
Here's
a picture of the completed left arm rest (not glassed yet). I repeated the same
for the right arm rest. It has been rather cold in southern California for the
past few days (~40oF), so I decided to wait a bit before any glass work.
I decided to proceed to the next section for now.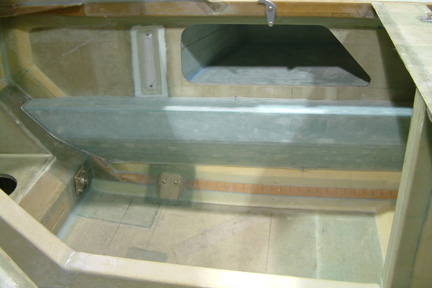 Warmer
days finally arrived. I took the opportunity to glass both the inside and outside (2 BID outside and 1 BID inside per Plan). However, I changed the glassing
sequence with the outside first because I can control the shape of the armrest
easier during cure.
Warmer
days finally arrived. I took the opportunity to glass both the inside and outside (2 BID outside and 1 BID inside per Plan). However, I changed the glassing
sequence with the outside first because I can control the shape of the armrest
easier during cure.