|
|
 |
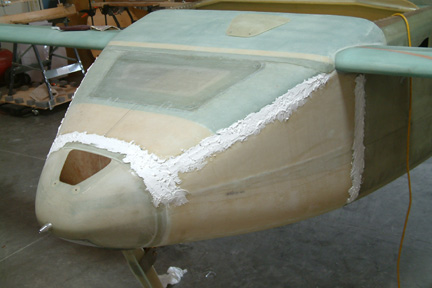
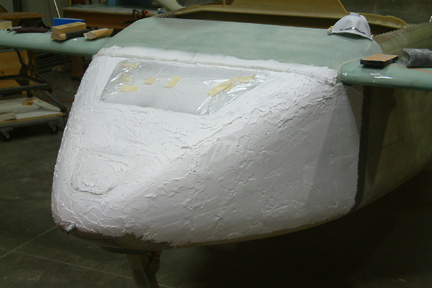
My first pre-fill and sanding on a real part. I ended up with many pin holes and mouse bites. I was not impressed though with a lot of work. |
 |
 |
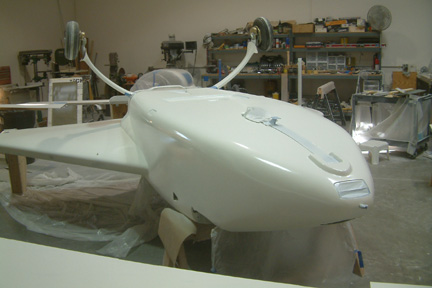
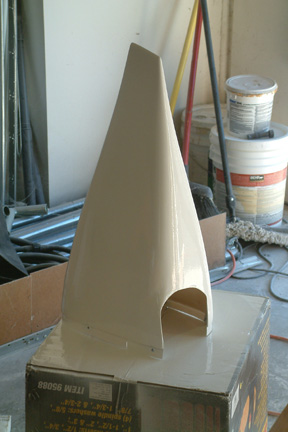
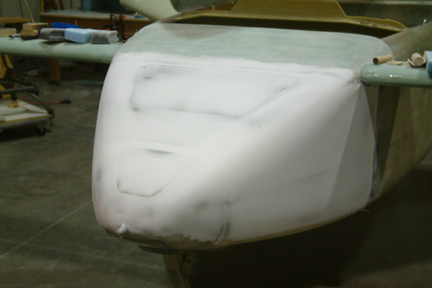
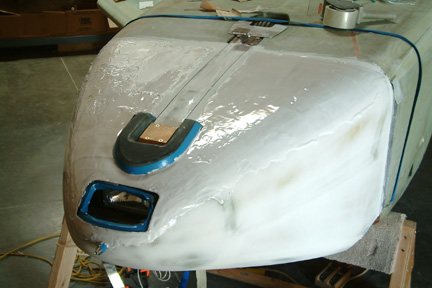
I stuck some plastic strips between the nose cover and the fuselage, hoping to get a really thin seam - no luck. The plastic strips were too thin and will not stay straight, I ended up with a wavy line. I filled and sanded both nose covers. |
 |
 |
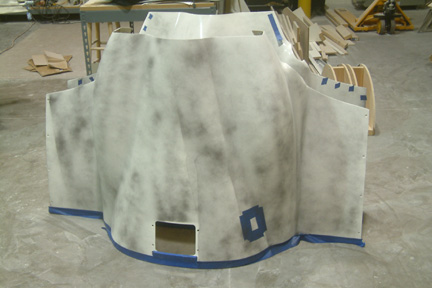
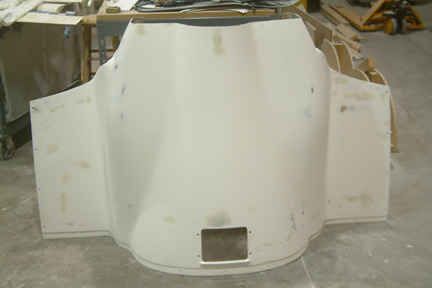
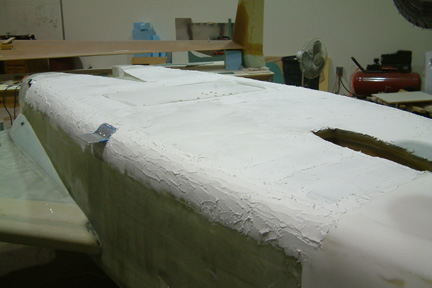
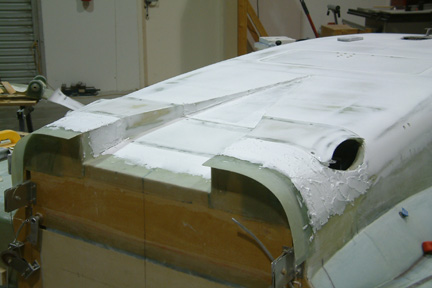
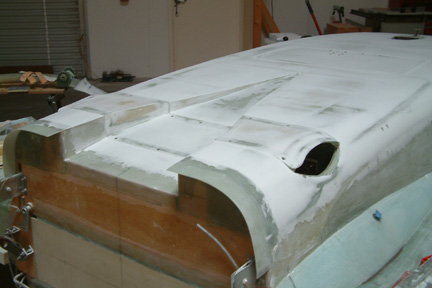
Filling and sanding the rest of the nose top. Starting to learn about controlling the width of a seam...I made a blue-foam sanding template for the rounded edges of the nose. |
 |
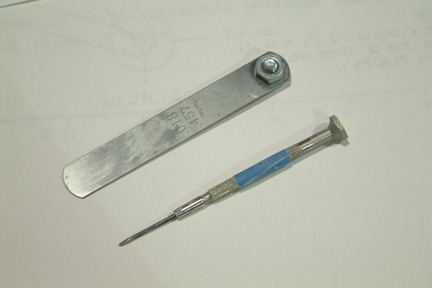 |
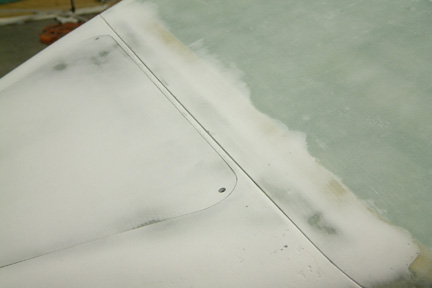
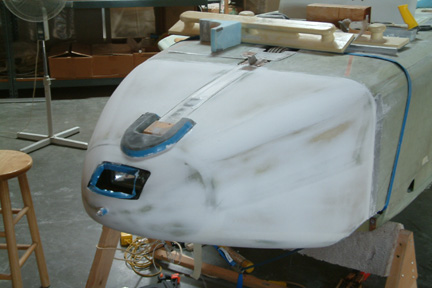
The seams are looking better, but not perfect. I used the tools (left) to carve out the seam line before the micro cures. The flat one is for straight lines while the small screw driver is for curved corners. Make sure the micro is firm / dry enough to stay put after you form the trough. |
 |
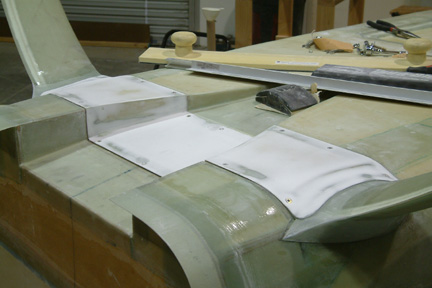 |
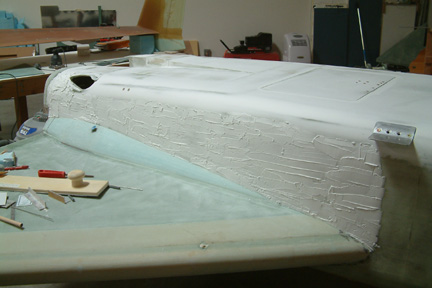
I flipped the fuselage over to complete the main gear fairings. Once completed, I started on filling and sanding the bottom side of the fuselage. There are a lot of seams on the bottom of the Cozy, so I learned to do the seam just at the right time. |
 |
 |
I might have over killed with the
micro filling (left). Generally, it was not too bad, just have a lot of
excess micro to remove. The narrow Durablock works best for this
application. I did not take any picture on the sanded main gear leg until I finished sanding the fuselage bottom. |
 |
 |
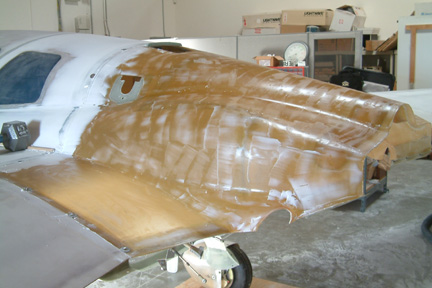
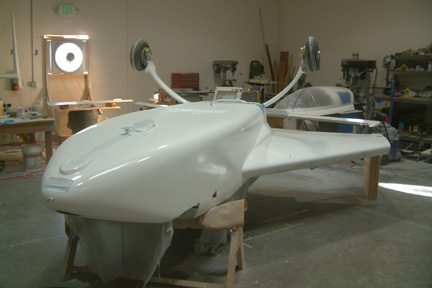
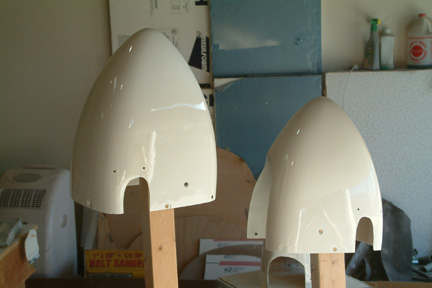
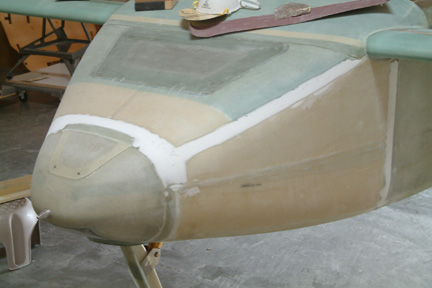
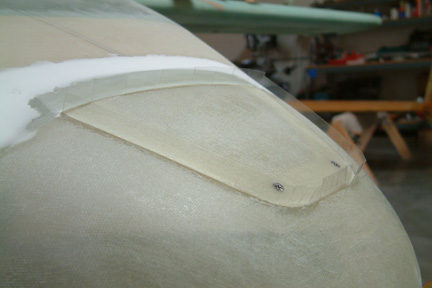
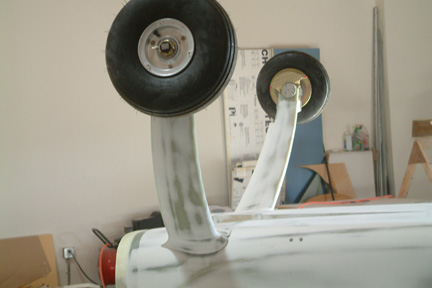
I never liked my nose gear that was shaped to fit the Feather Lite nose gear cover. I decided to add 4 BID to cover up the original gear cover and seams. |
 |
 |
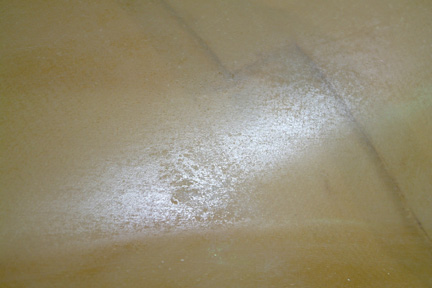
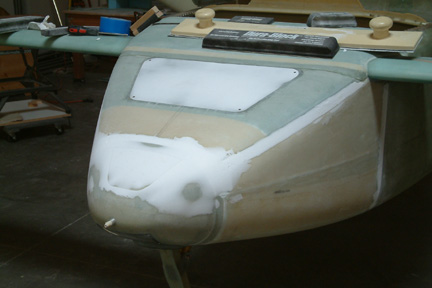
Next, the bottom of the nose - a bit wet with the micro. I have to wait till the micro dries before sanding. It turned out OK. A bit aggressive on a couple spots. I will do some secondary patching later on. |
 |
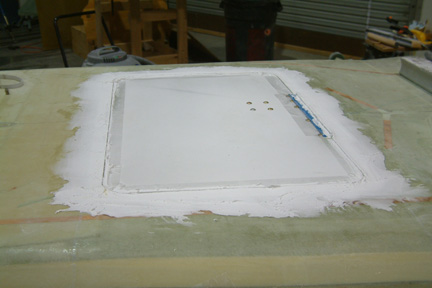 |
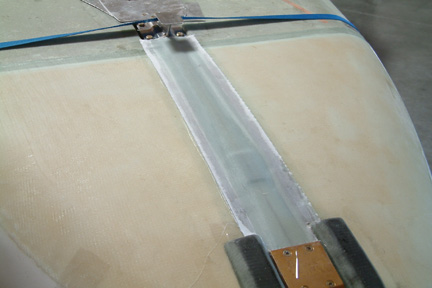
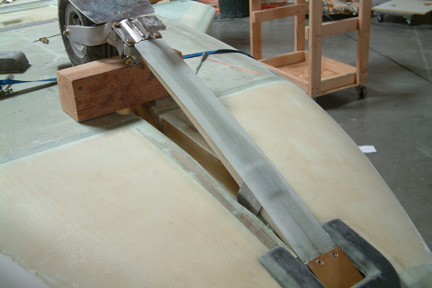
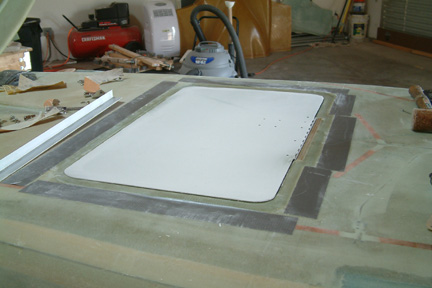
I removed the air brake to fill and sand both sides. Then I sanded its edges as straight as possible. I taped all edges for seam preparation. Then I microed and sanded its surrounding areas. |
 |
 |
The big day finally arrived to fill and sand the rest of the fuselage bottom. It took me almost all day to fill the bottom. I had to pay special attention (and applied more micro) along the rounded edges because I was too aggressive in sanding it down during the foam shaping stage. I sanded it down the next day. I had to follow up with additional patching and sanding to smooth out imperfections. |
 |
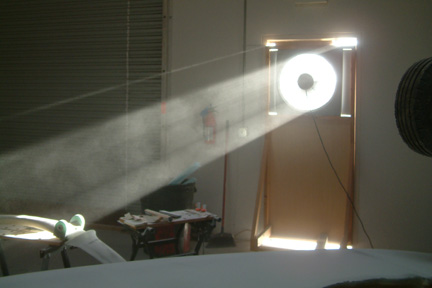 |
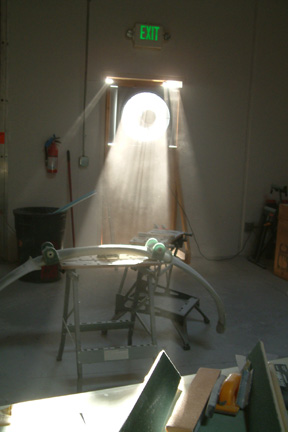
Sanding the fuselage bottom generated a huge dust storm. The light beam through my exhaust fan turning the work place into a 2,000 year old Egyptian Tomb - no treasure here though...but I was anticipating Indiana Jones jumping out from one of the dark corners anytime now... |
 |
 |
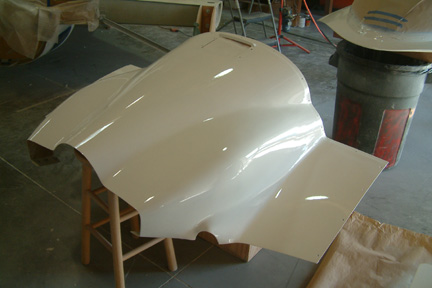
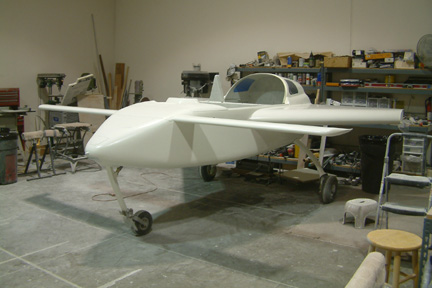
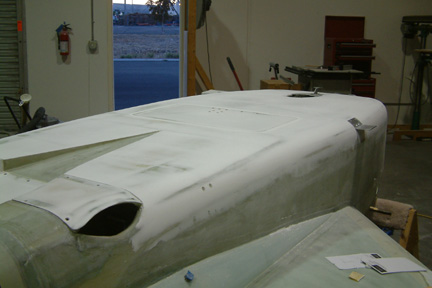
Filling and sanding the NACA scoop and back end of fuselage. I left the tail-end un-filled (for now) for transitioning to the cowlings later on. |
 |
 |
One small step at a time...the back half of the fuselage. I found a 1 1/2" plastic spreader that worked out really well for me. I was able to spread a relatively thin layer of micro onto the surface. That minimized the subsequent sanding effort. |
 |
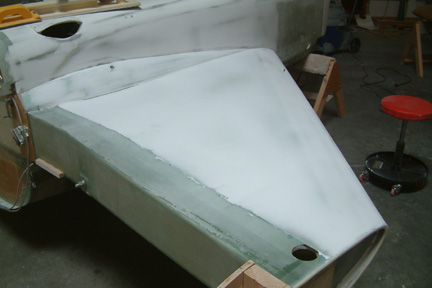 |
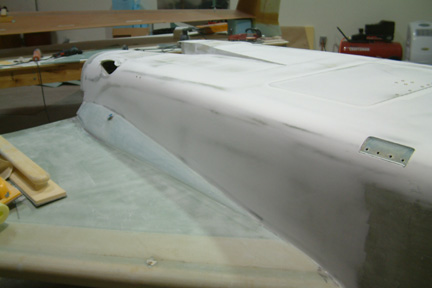
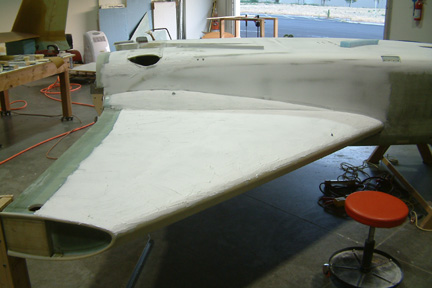
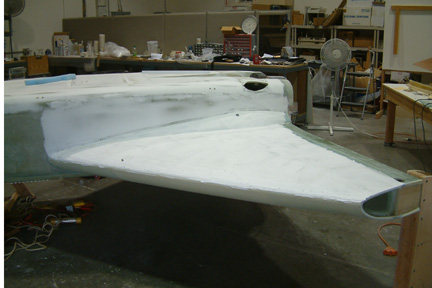
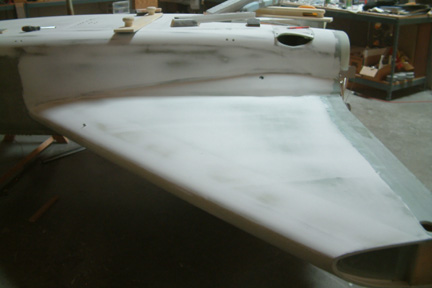
I have been aggressive in removing micro from previous areas and ended up re-patching them multiple times. I have to remind myself to stop sanding as soon as the high points become visible. The bottom strake turned out much nicer. I also made a sanding block (with blue foam) using the R33 profile as a guide for the leading edges. I will fill and sand the spar bottom later - together with the wings attached. |
 |
 |
Fill and sand the right wing bottom the same as the left. I sanded the foam really smooth before glassing and peel-plied. The surface was quite smooth already, so filling and sanding was quite trouble free. |
 |
Here's a nice sanding technique I learned from Wayne Hicks. It can be used for sharp corner treatment as well as tight round surfaces. Wayne applied it to make a nice defined edge/corner for my fuel sump area in the picture above. Simple and effective! Don't forget to go 45 degrees criss-cross pattern on the tight round surfaces. |